
- Published on
Kubernetes CI/CD with Github Actions and Helm
- Authors

- Name
- Gbenga Oni
- @gbxnga
Learn Hand-On AWS Cloud EngineeringHERE

Overview
This tutorial shows you how to set up a Continuous Integration and Continous Deployment Pipepline for a Kubernetes Application using Github Actions and Helm package manager.
Table of Contents
- Table of Contents
- Prerequisites
- Step 1: Create Amazon EKS Cluster
- Step 2: Create an Express Application
- Create Github Repository
- Install Express
- Dockerize Express Application
- Create AWS ECR Registry
- Step 3: Create Deployment Scripts
- Create Helm Chart
- Create Github Actions Workflow
- Configure Github Action Environment Variable and Secrets
- Conclusion
- Delete Resources
Prerequisites
- AWS Account
- AWS CLI
- kubectl
- eksctl
- Github Account
Step 1: Create Amazon EKS Cluster
We need to create a new Amazon EKS cluster. We will use eksctl cli to achieve this. eksctl is the commandline tool and interface used for creating and managing EKS clusters.
eksctl create cluster --name my-test-cluster --region us-west-2
eksctl will now compile cloudformation scripts that will deploy an new Amazon EKS cluster called my-test-cluster with other associated resources.
Wait for some minutes for cluster to be provisioned.
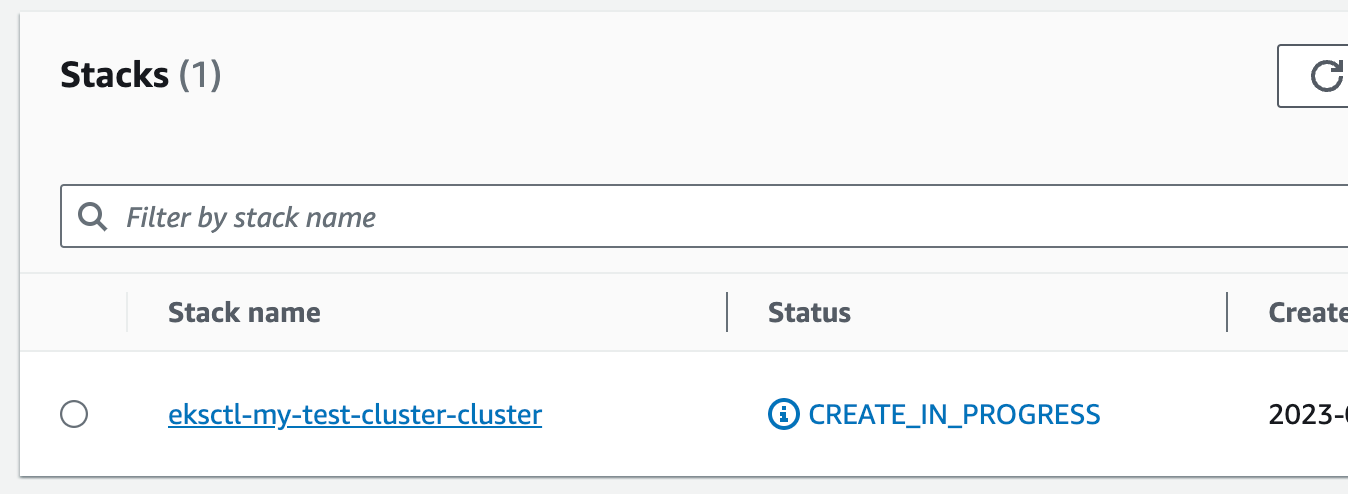
AWS EKS is now provisoned and ready to go.
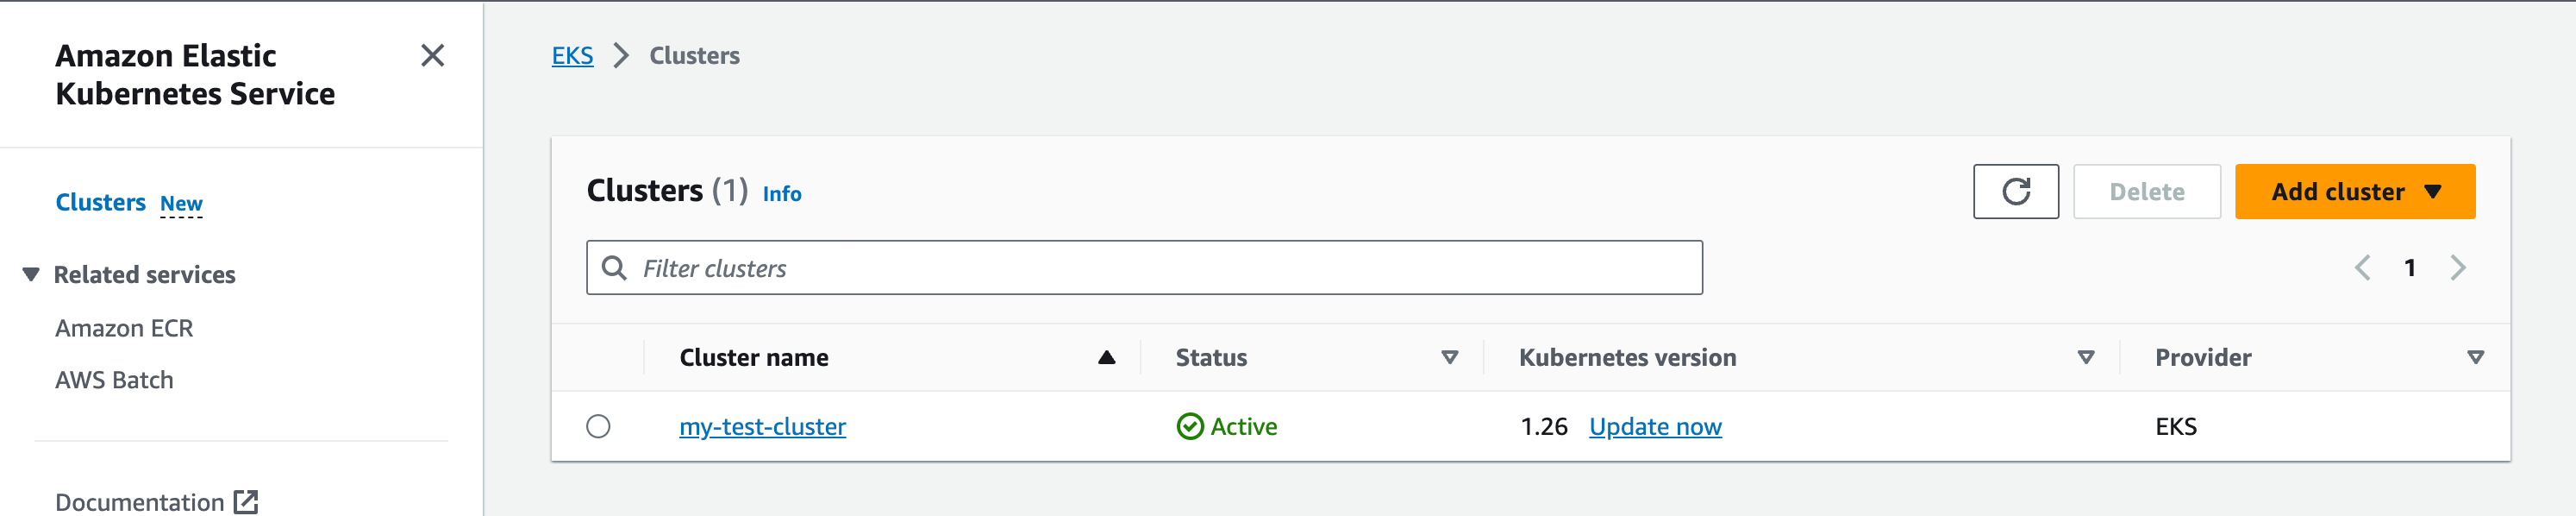
Make sure your the Kubernetes Version of your EKS cluster is version
1.26or above.
Step 2: Create an Express Application
We need to create a NodeJS application. To achieve this, we will use Express, a NodeJS framework.
Create Github Repository
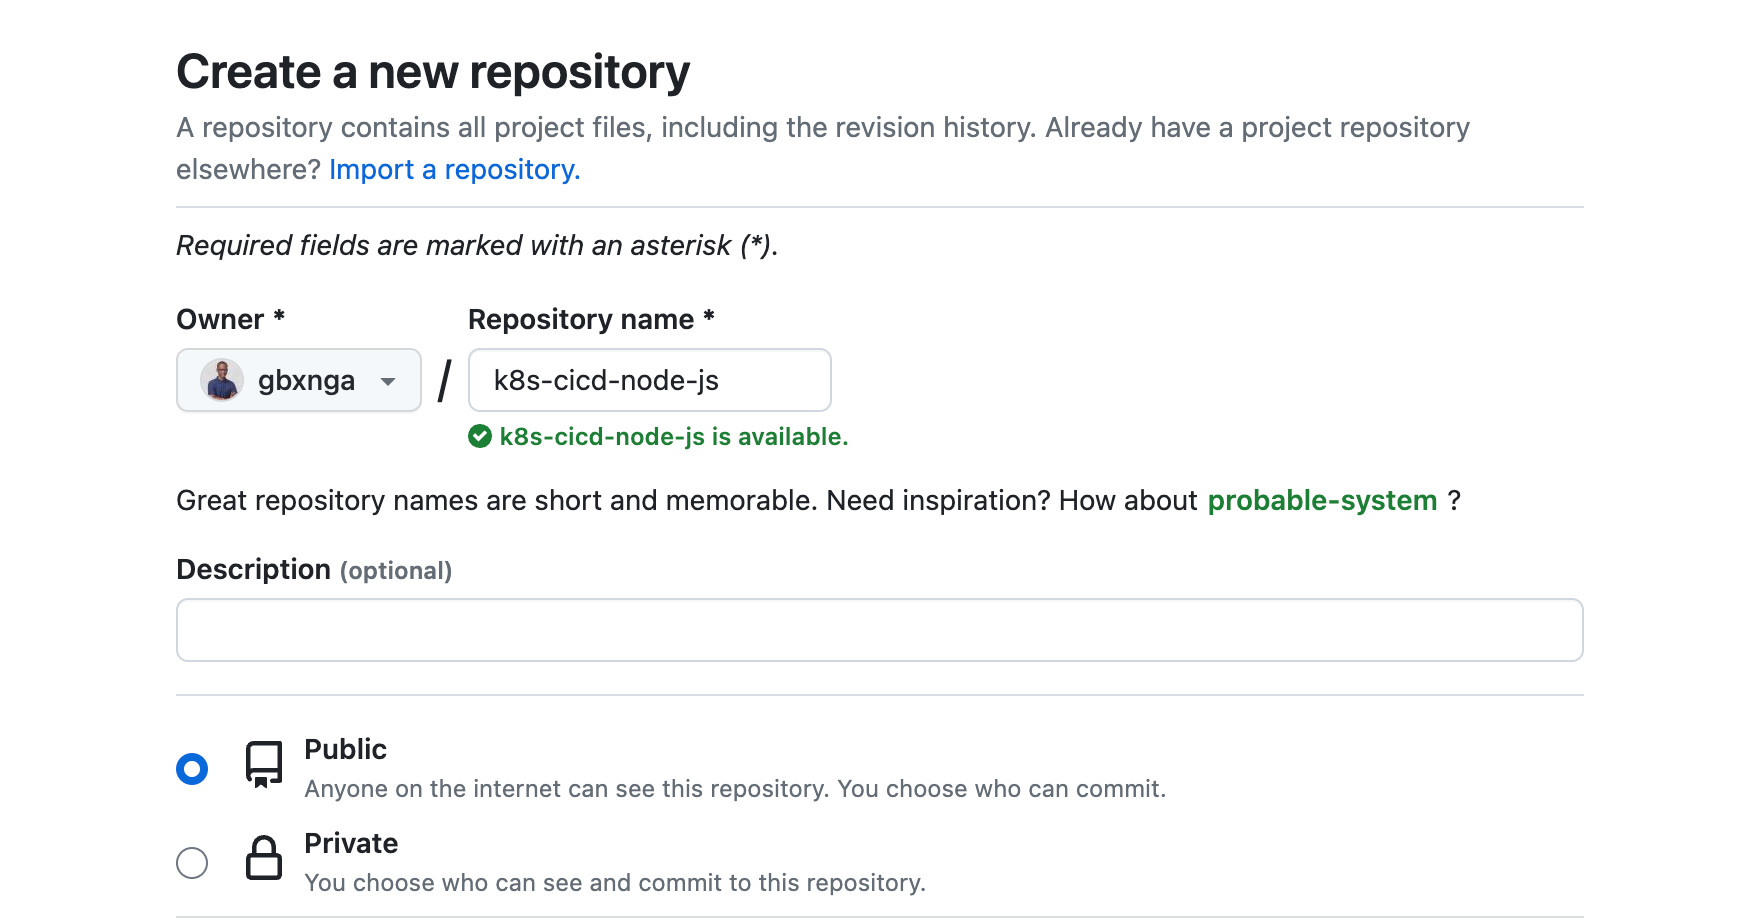
Create a Github Repo and give it a name of your choosing.
Clone this repo to your local workstation.
Install Express
We will install Express framework using the express-generator plugin. First we need to install the plugin globally.
npm install -g express-generator
Then use the plugin to create a fresh Express framework.
npx express-generator k8s-cicd-node-js
cd k8s-cicd-node-js
npm install
Start the application:
npm run start
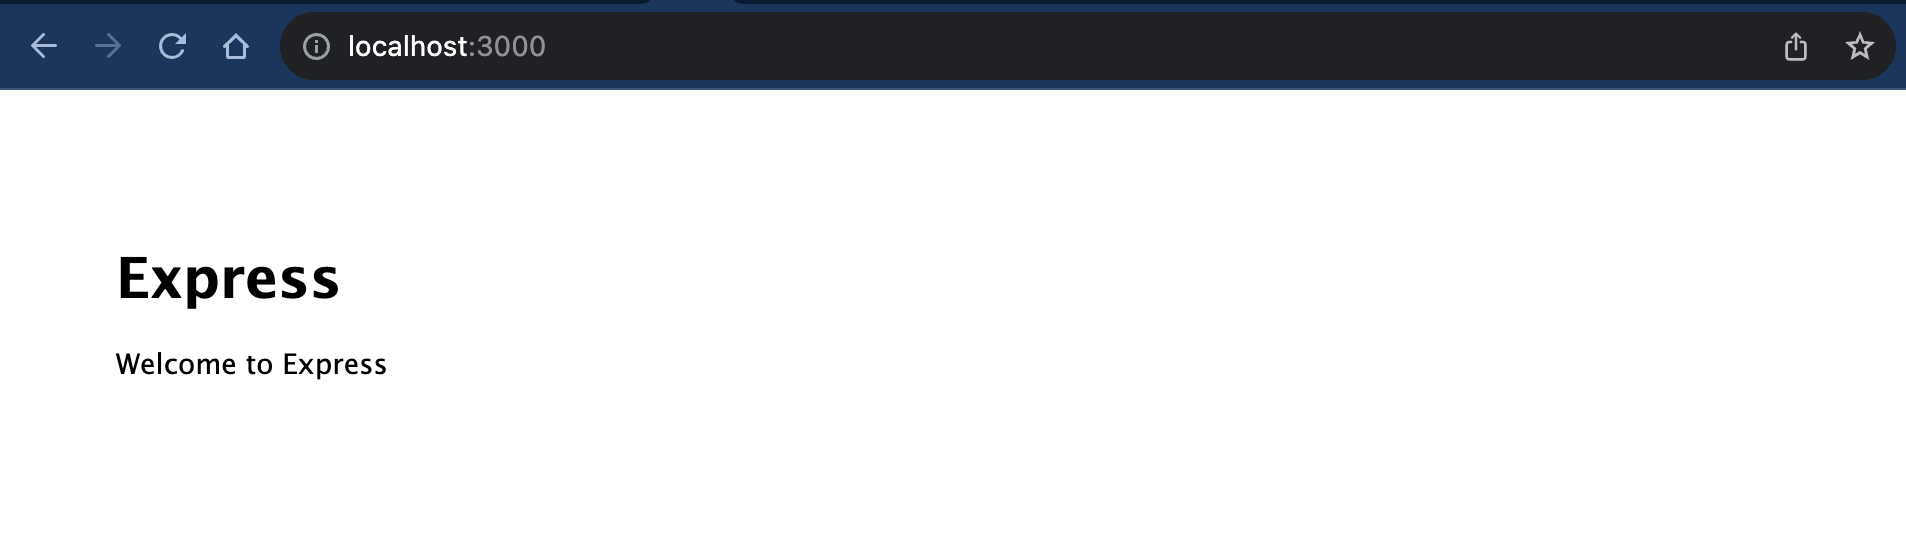
The NodeJS application is now up and running.
Dockerize Express Application
Kubernetes is a container orchestration tool, so Docker will be used to package the Express application container.
Create a Dockerfile:
touch Dockerfile
Copy and paste this into the docker file:
FROM node:20

WORKDIR /usr/src/app

COPY package*.json ./

RUN npm install

COPY . .

EXPOSE 3000
CMD [ "node", "bin/www" ]
Our container is now ready to be shipped.
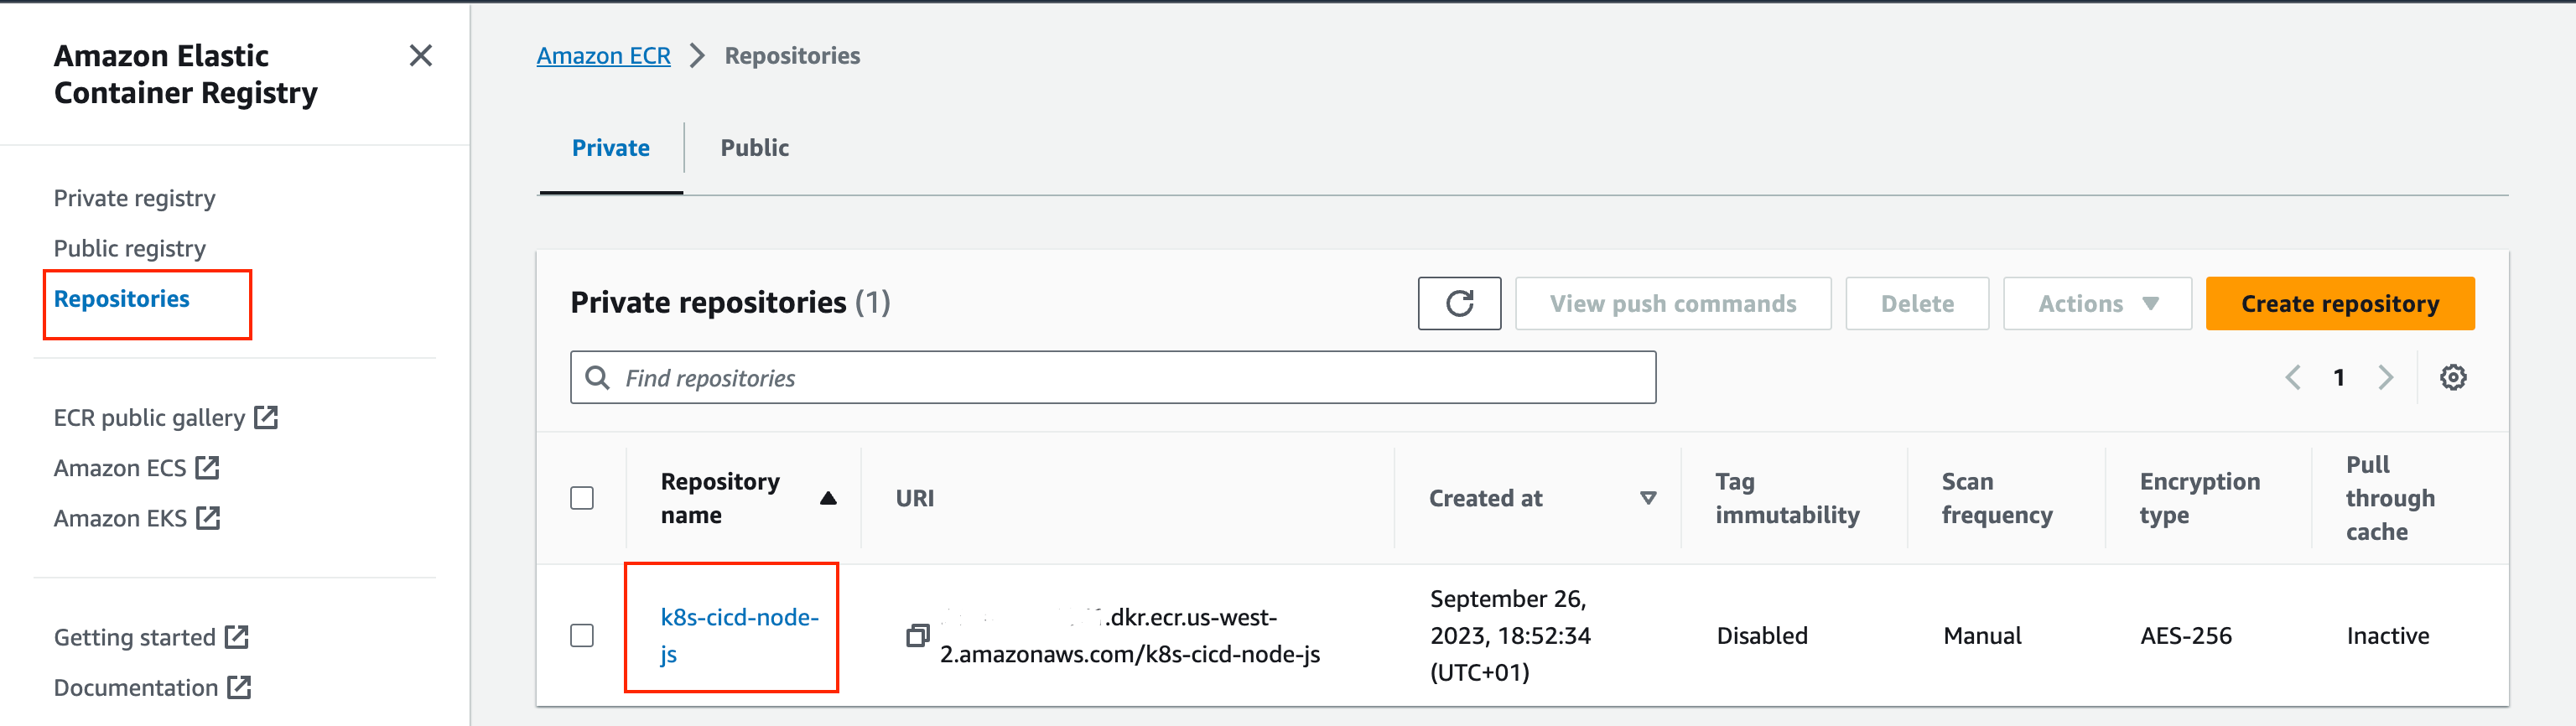
Create AWS ECR Registry
We will use AWS ECR as container registry. To create an AWS ECR registry, we will use the AWS CLI.
aws ecr create-repository --repository-name k8s-cicd-node-js --region us-west-2
The AWS ECR registry is now ready.
Step 3: Create Deployment Scripts
Create Helm Chart
We will use Helm, a package manager for Kubernetes to package and deploy the application to the new EKS cluster.
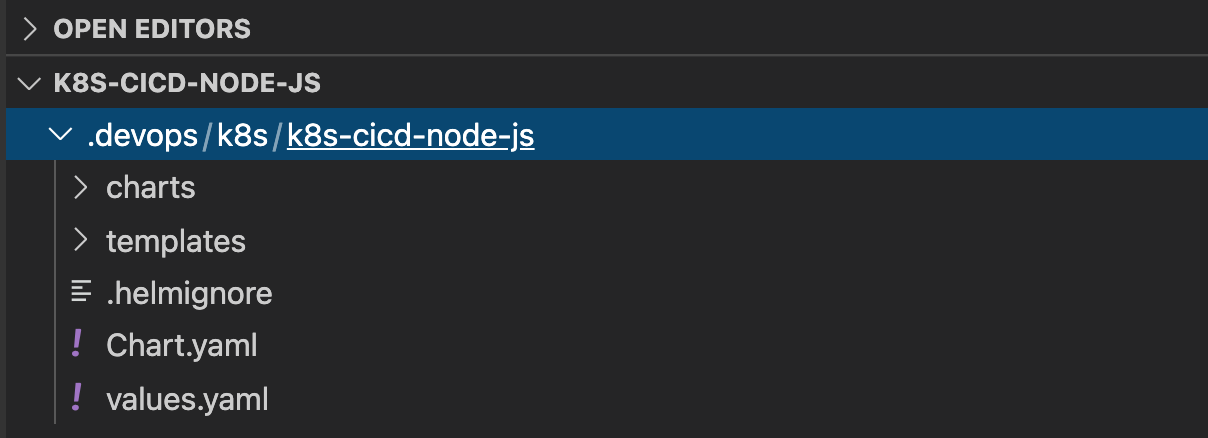
Create a deployment scripts folder in the repo:
mkdir .devops
mkdir .devops/k8s
cd .devops/k8s
In the k8s folder in the .devops folder, run the helm command to create a new Chart named k8s-cicd-node-js for the application.
helm create k8s-cicd-node-js
You should hnow have a devops folder structure like this in the repo:
Create Github Actions Workflow
We need to create a workflow file for the Github Actions CI/CD pipeline.
Create the folder and the actions file deploy-to-k8s.yaml:
mkdir .github
mkdir .github/workflows
touch .github/workflows/deploy-to-k8s.yaml
Copy and paste this in the Github Actions file:
name: Deploy to k8s

on:
  push:
    branches: [ main ]

jobs:
  deploy-to-k8s:

    runs-on: "ubuntu-latest"

    steps:
    - uses: actions/checkout@v2
    - name: Get short SHA
      id: slug
      run: echo "::set-output name=sha8::$(echo ${GITHUB_SHA} | cut -c1-8)"

    - name: Set up QEMU
      uses: docker/setup-qemu-action@v1

    - name: Set up Docker Buildx
      uses: docker/setup-buildx-action@v1

    - name: AWS Credentials
      uses: aws-actions/configure-aws-credentials@v1
      with:
        aws-access-key-id: ${{ secrets.AWS_ACCESS_KEY_ID }}
        aws-secret-access-key: ${{ secrets.AWS_SECRET_ACCESS_KEY }}
        aws-region:  ${{ secrets.AWS_REGION }}

    - name: Login to Amazon ECR
      id: login-ecr
      uses: aws-actions/amazon-ecr-login@v1

    - name: Build, tag, and push image to Amazon ECR
      env:
        ECR_REGISTRY: ${{ steps.login-ecr.outputs.registry }}
        ECR_REPOSITORY: k8s-cicd-node-js
        IMAGE_TAG: ${{ steps.slug.outputs.sha8 }}
      run: |
        docker build -t $ECR_REGISTRY/$ECR_REPOSITORY:$IMAGE_TAG .
        docker push $ECR_REGISTRY/$ECR_REPOSITORY:$IMAGE_TAG
    - name: kubeconfig
      run: |
          aws eks update-kubeconfig --name my-test-cluster --region ${{ env.AWS_REGION }}  --kubeconfig ./kubeconfig
          echo 'KUBE_CONFIG_DATA<<EOF' >> $GITHUB_ENV
          echo $(cat ./kubeconfig | base64) >> $GITHUB_ENV
          echo 'EOF' >> $GITHUB_ENV

    - name: helm deploy
      uses: koslib/helm-eks-action@master
      env:
        KUBE_CONFIG_DATA: ${{ env.KUBE_CONFIG_DATA }}
        ECR_REGISTRY: ${{ steps.login-ecr.outputs.registry }}
        ECR_REPOSITORY: k8s-cicd-node-js
      with:
        command: |
              helm version
              kubectl version
              kubectl cluster-info
              helm upgrade k8s-cicd-node-js --install --wait --set image.tag=${{ steps.slug.outputs.sha8 }} --set image.repository="$ECR_REGISTRY/$ECR_REPOSITORY" --set service.port="3000" .devops/k8s/k8s-cicd-node-js -n default
Here are the steps in this CI/CD pipeline explained:
- Get short SHA: Initiate Github Actions Checkout version 2
- Set up QEMU: Set up QEMU static binaries in the GitHub Actions workflow.
- Set up Docker Buildx: Initialize Buildx for
docker buildcommand - AWS Credentials: Initialize AWS credentials
- Login to Amazon ECR: Login to ECR
- Build, tag, and push image to Amazon ECR: Build and push docker image to ECR
- kubeconfig: Setup Kubeconfig file
- helm deploy: Deploy application to Kubernetes
Configure Github Action Environment Variable and Secrets
Now that the actions pipeline has been configured, the secrets and environment variables needed for the Github Actions pipeline to run will be provided.
Navigate to Settings on the Github Repo, the click on Secrets and Variables, then Actions:
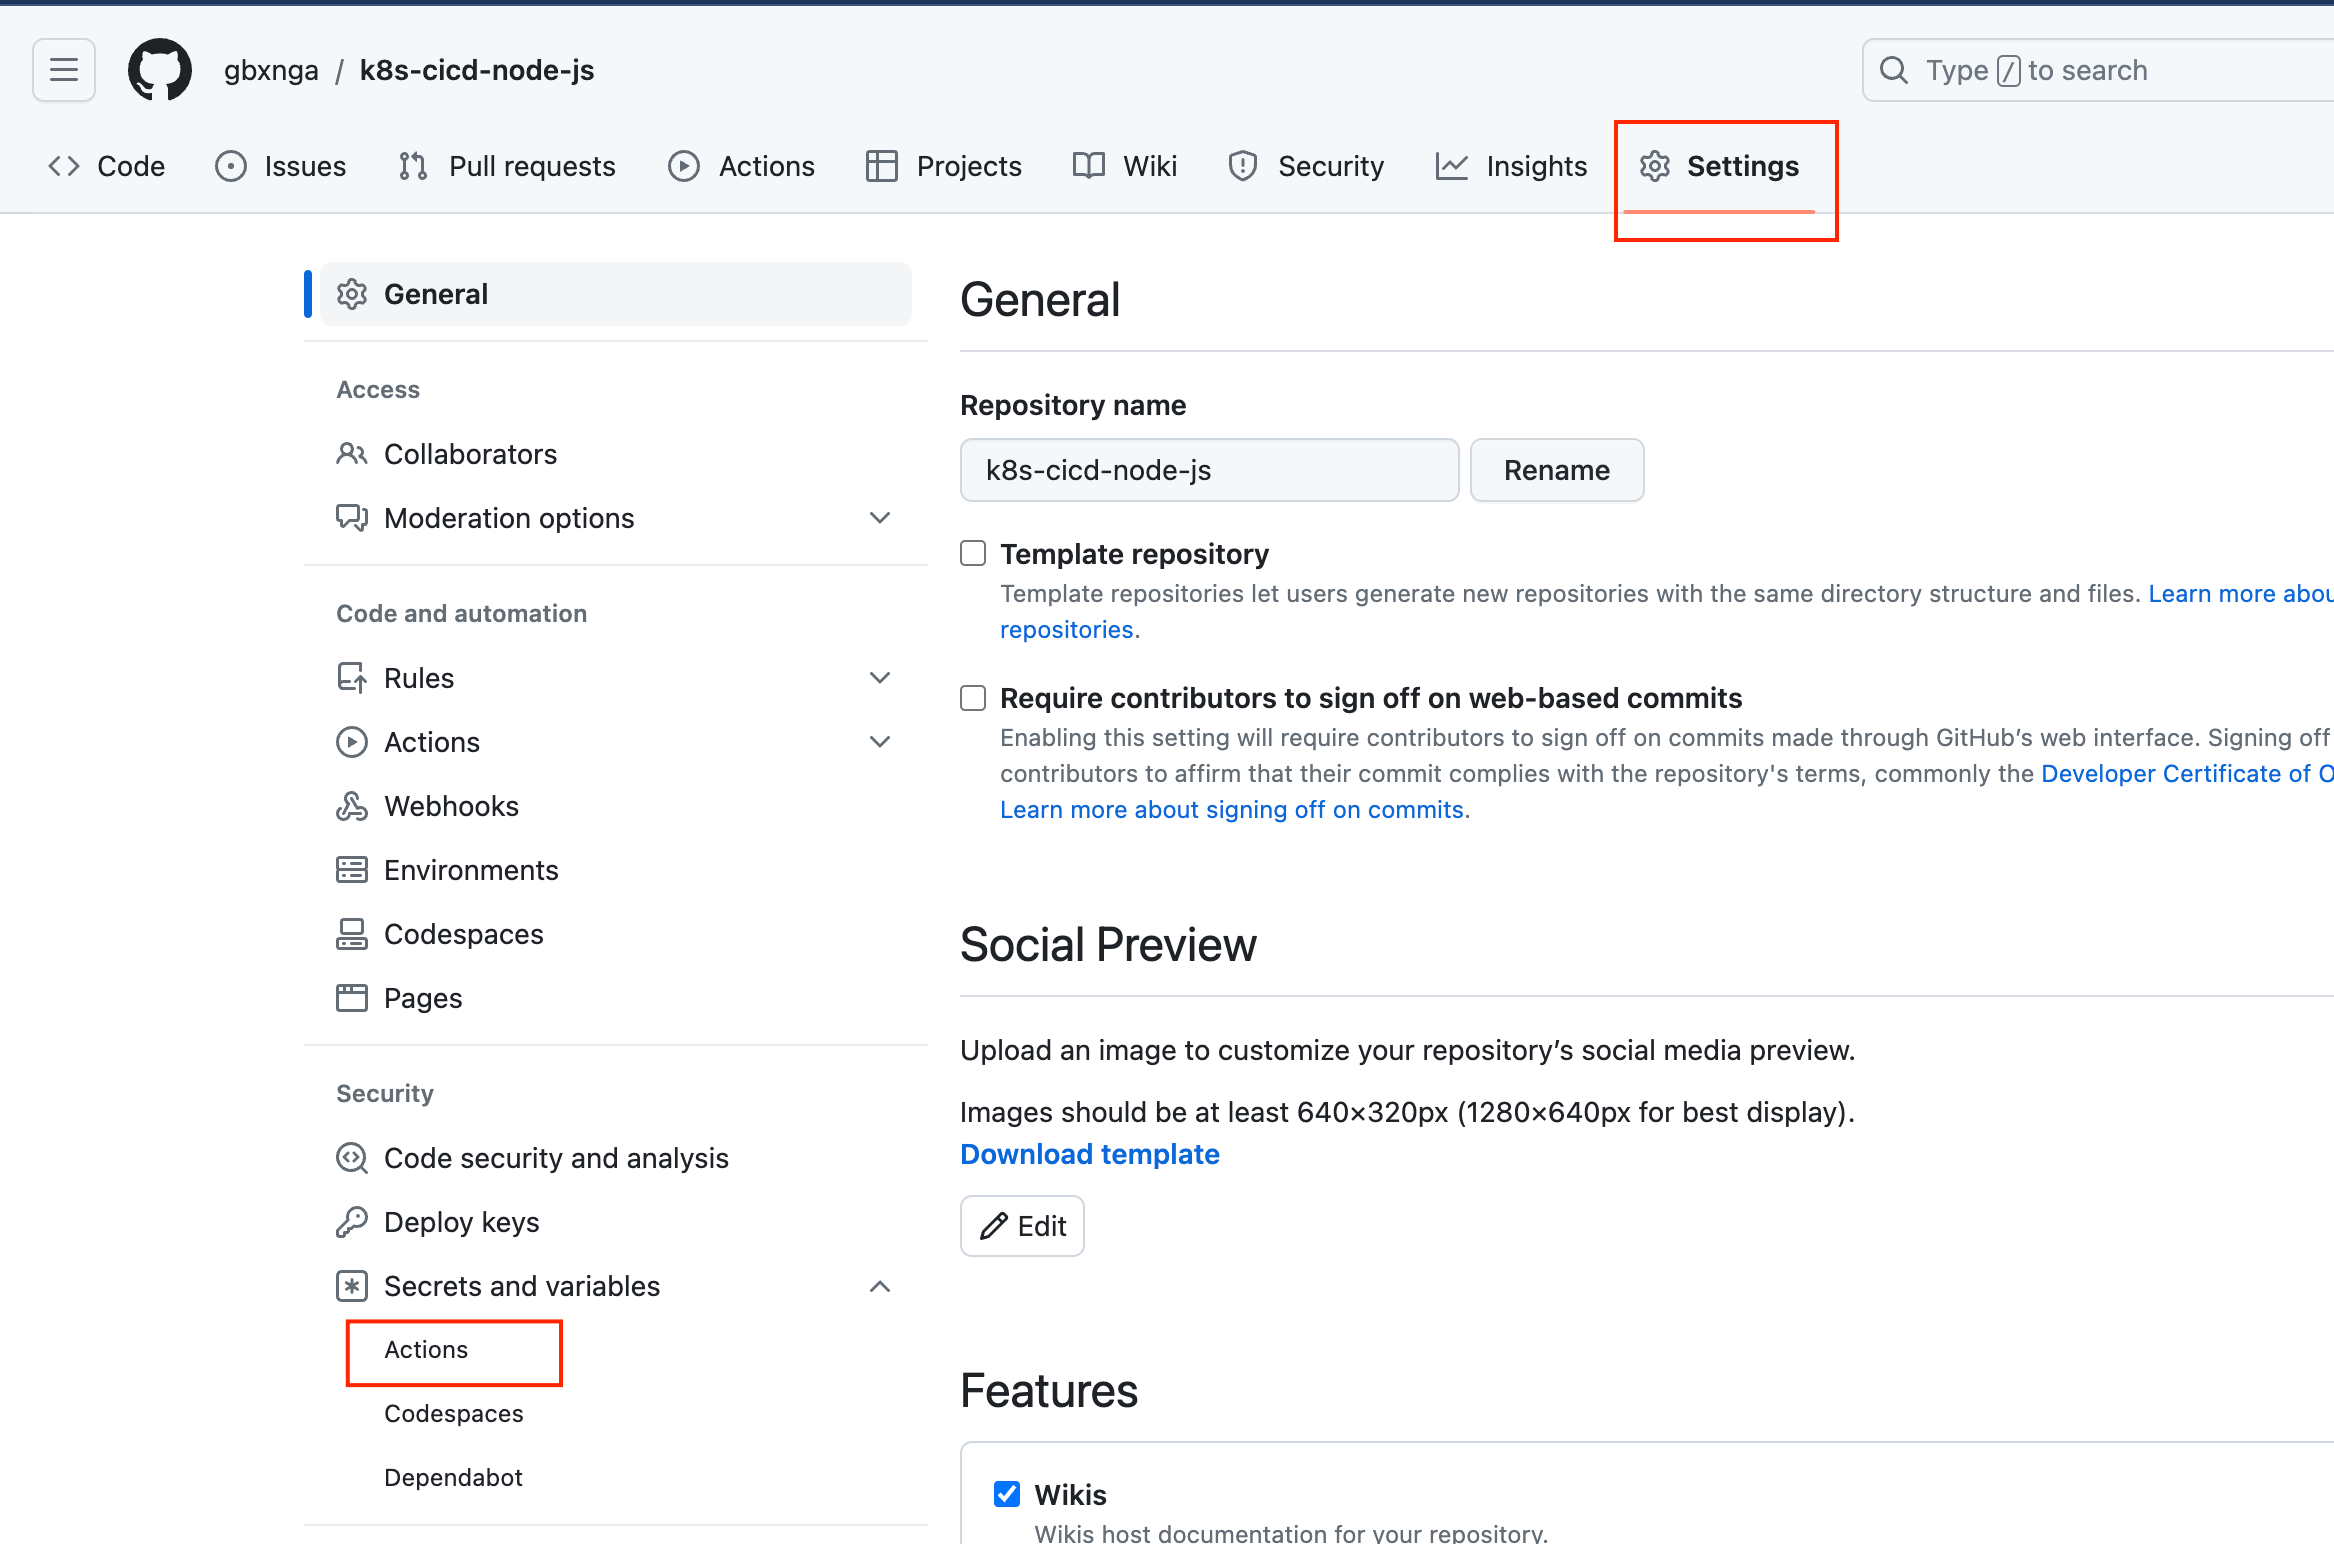
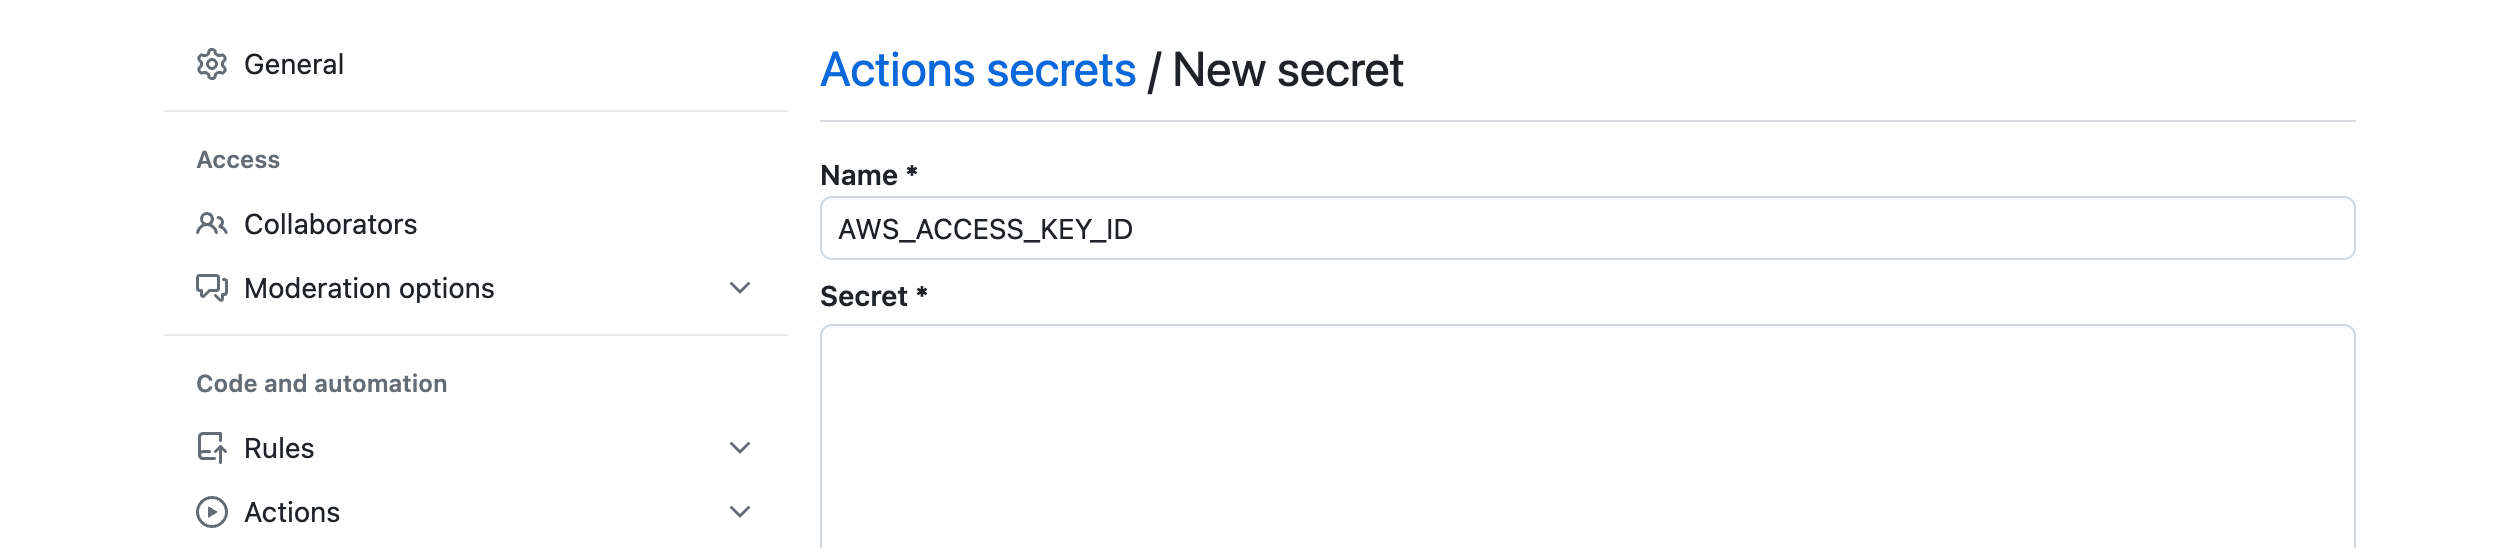
Click the New Repository Secret button to create a new secret.
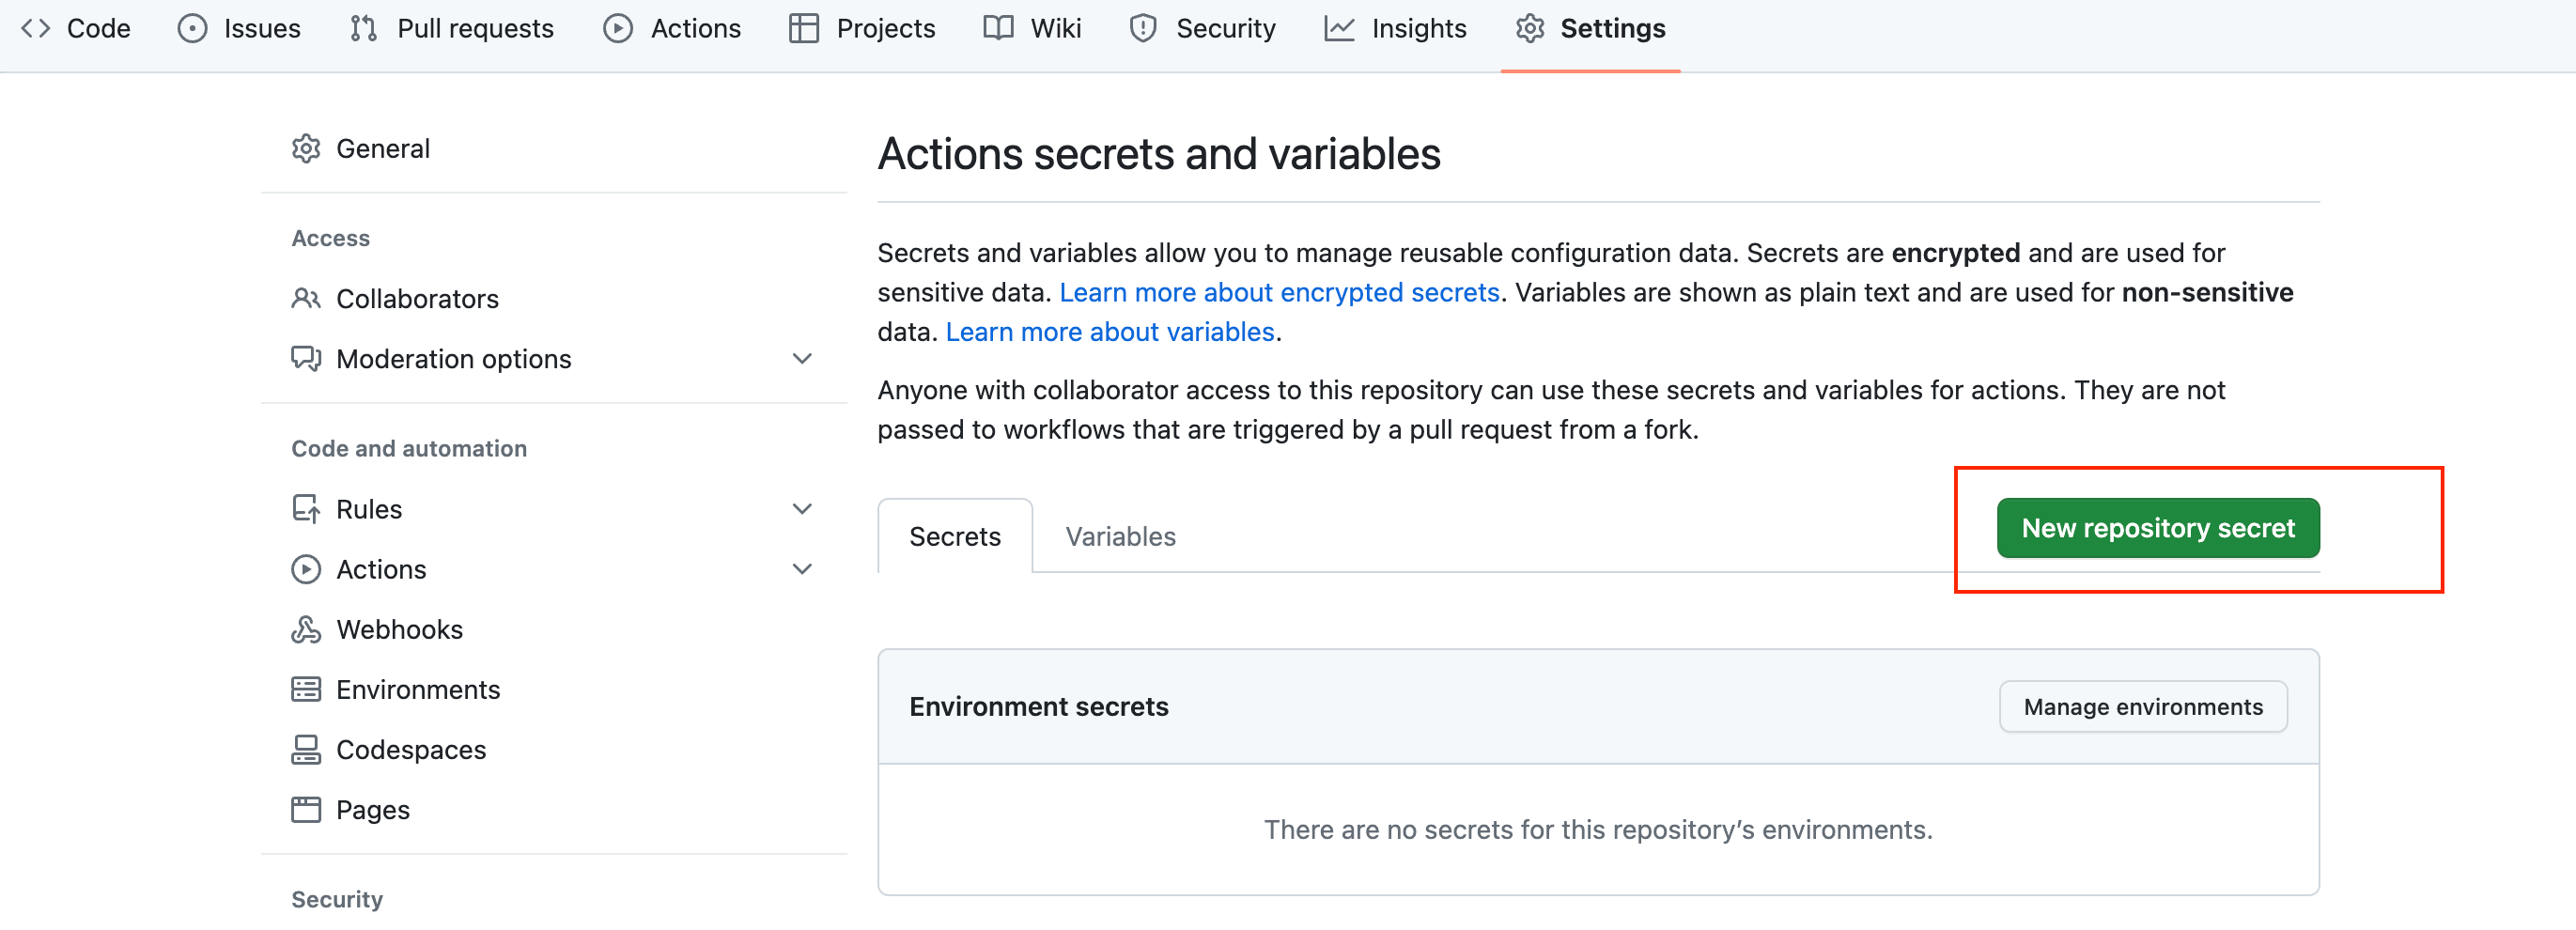
Now add the following secrets, one after the other:
- AWS_ACCESS_KEY_ID
- AWS_SECRET_ACCESS_KEY
- AWS_REGION
Once done, return to your local workstations and push the updated repo commits.
Github Actions will immediately pick this up and run the pipeline.
Your pipeline should run for a few minutes:
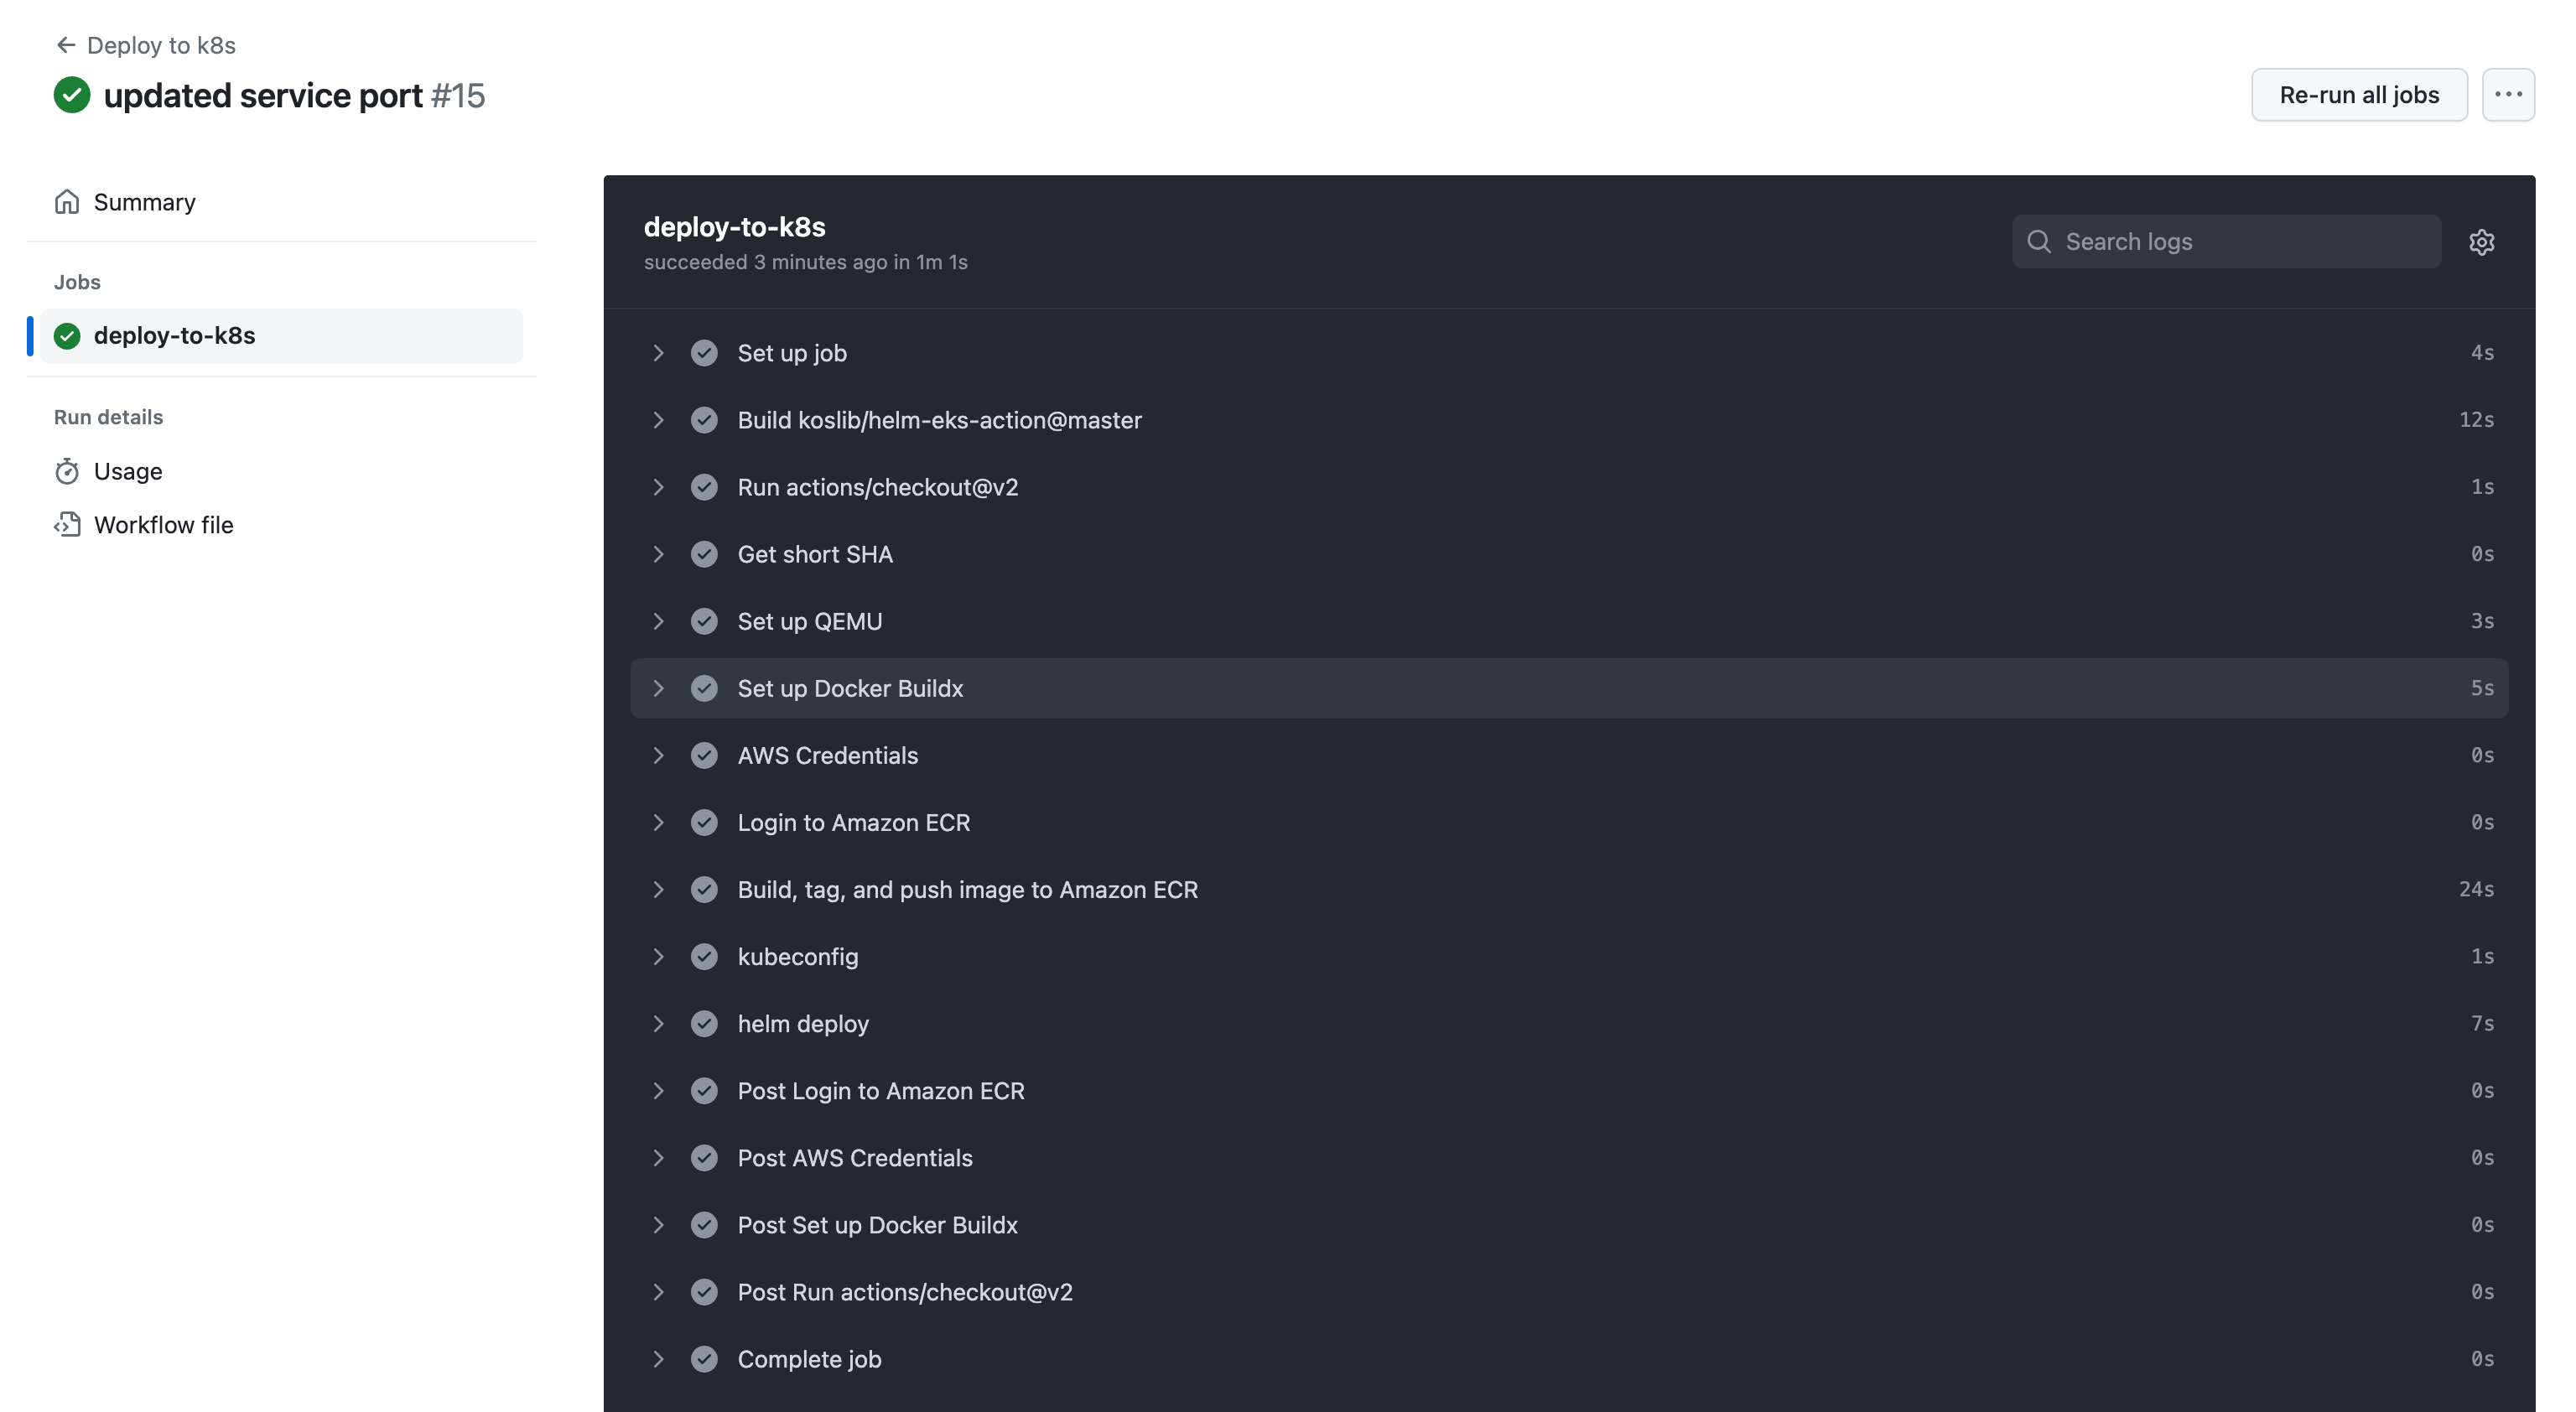
The application should now be successfully deployed.
kubectl get pods --kubeconfig=./kubeConfig

helm list --kubeconfig=./kubeConfig

Conclusion
You have now successfully created an Express NodeJS application, packaged it using Docker into a container and Set up a Github Actions pipeline that automatically deploys the applications to Amazon EKS.
Delete Resources
To ensure you don't incure any more cloud cost for this tutorial, tear down the newly created Amazon EKS Cluster:
eksctl delete cluster --name=my-test-cluster --region=us-west-2 --wait